
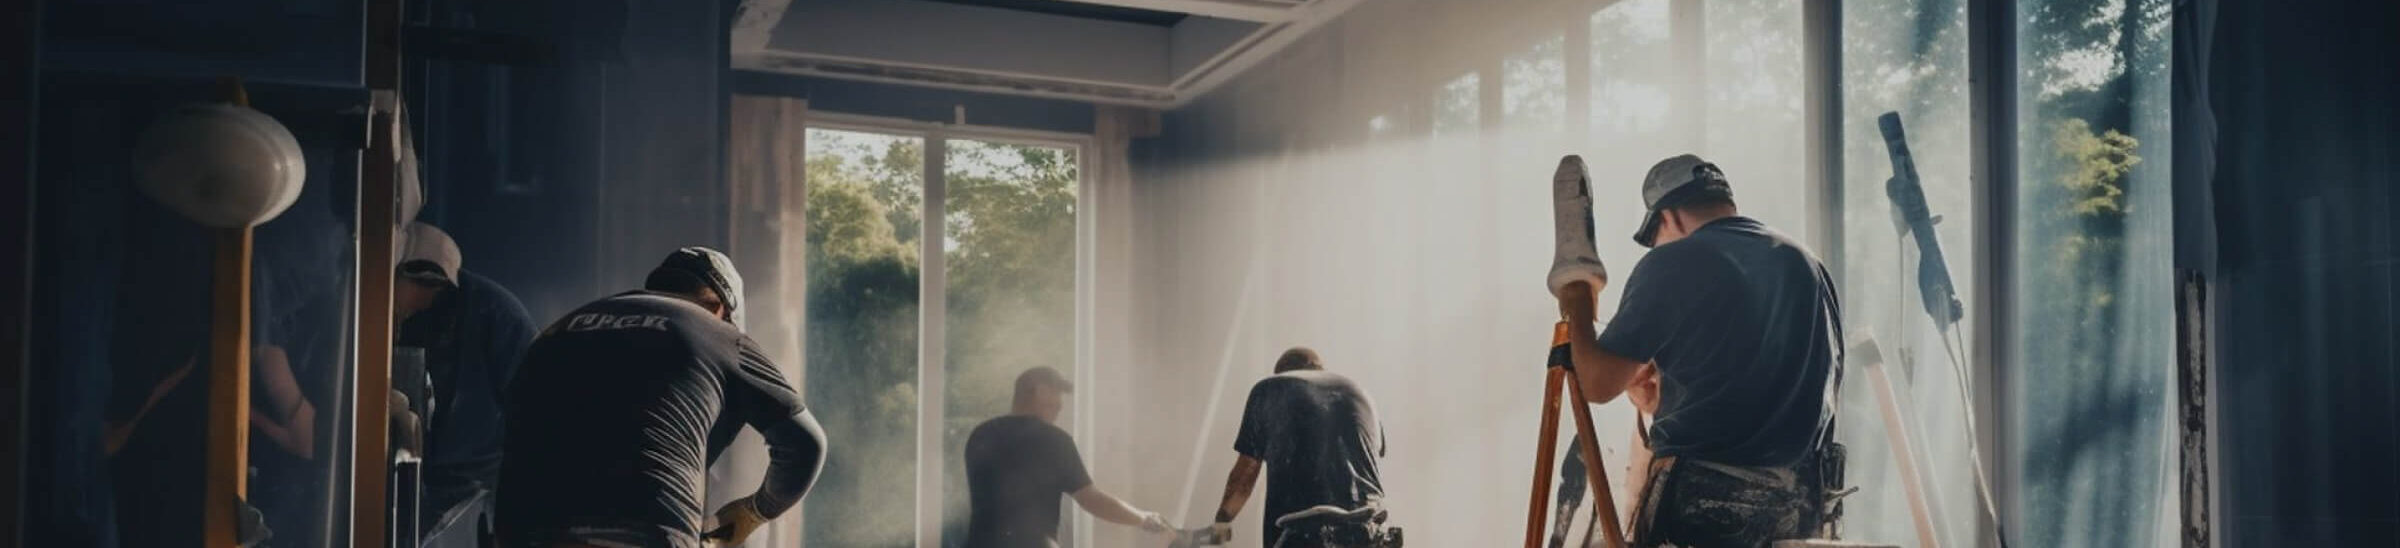
There’s a narrow attachment that came in the box with your vacuum. Most people have never taken it out. Used properly, it does more for a tired-looking sofa than any bottle you can buy. A limit worth naming first. Doing this at home usually means working without an extractor, and that’s the thing that makes professional results look different. Everything below is built around it.
Most upholstery problems are vacuum problems:
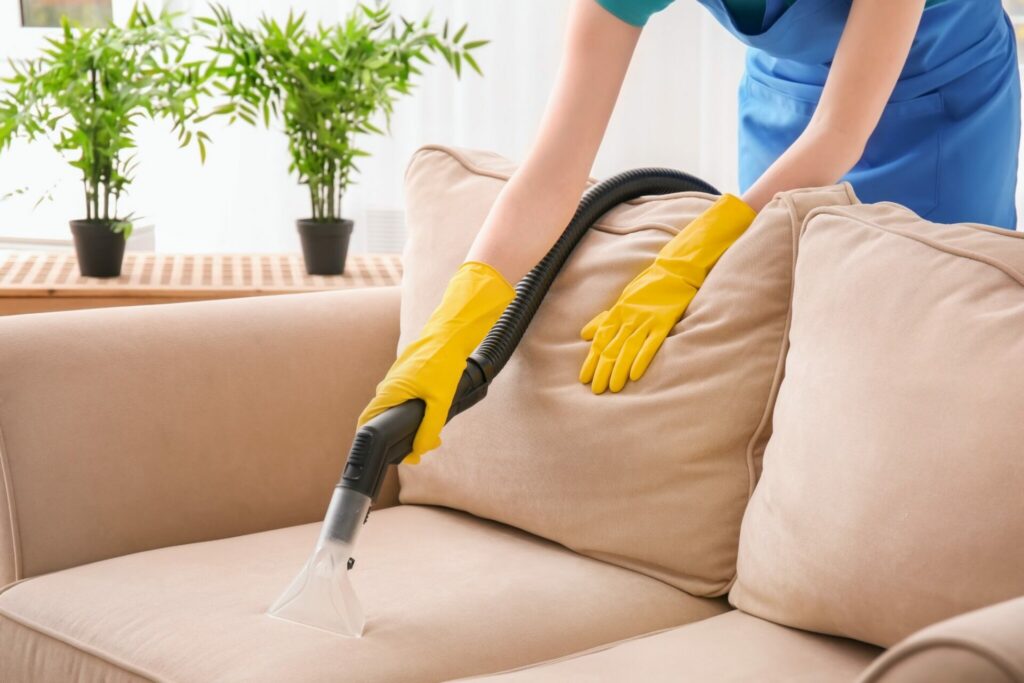
Pull the cushions out and work the whole frame first. Crevice tool along the seams and the deck, upholstery head across the flat panels, and go slowly enough that each pass overlaps the one before it. Dining chairs, ottomans and headboards get the same treatment, and if the seats unscrew, take them off and work them on a table.
Flip the cushions and do the undersides too. Dust falls through the weave and collects on the bottom face, which is why a flipped cushion sometimes looks dingier than the one you’ve been sitting on.
A sofa nobody has vacuumed in a year looks better at this point, before any liquid. If yours doesn’t, the problem is soil in the fibers rather than dust on top of them.
You can only put in what you can take back out:
A professional machine sprays and pulls back in the same pass. You can’t do that, so the rule is simple: never put in more moisture than a dry towel can lift back out. Soak the foam underneath and you get rings, softened padding and sometimes mildew.
In practice: spray the cleaner onto a cloth instead of the fabric, work an area about the size of your hand, and press a dry folded towel onto the spot straight afterward. Stand on the towel if you want.
Test on a hidden panel first, under a skirt or on the back, and wait for it to dry fully before you judge the result. Most of the damage people do to upholstery shows up during drying, not during cleaning.
For water-safe fabric, a teaspoon of clear dish soap in a cup of warm water will do. Nothing colored, and use less than feels right. Soap residue left in the fibers attracts soil, and the spot greys faster than everything around it.
If you own one of the small portable spot cleaners, you do have an extractor, just a modest one. It raises your liquid budget because it takes back what it puts down. It doesn’t solve the drying problem.
If the fabric is silk, viscose, or anything with a woven pattern that could shift, stop here. Those need solvent methods rather than water, and getting it wrong is not reversible.
When a stain has soaked past the surface, or the piece is older and you don’t know the fabric, that’s where upholstery cleaning with real extraction earns its cost. The home method isn’t wrong, it just has a ceiling, and you’ll know when you’ve hit it.
Smell and stain are two different jobs:
Cleaning the surface does almost nothing for odor, because odor usually isn’t on the surface.
On a sofa, smell lives in the foam and the deck fabric underneath the cushions. When we get called about one, that’s where it is, not on the panels people have been scrubbing. Baking soda sifted on and vacuumed off a few hours later absorbed some of it. It will not reach what’s soaked into the cushion core, and no amount of surface spray will either.
Air is the underrated tool. Cushions stood on end by an open window for an afternoon do more than most products.
Indiana makes the timing matter:
February feels like the right month for this job. Everyone is indoors, the furniture is taking a beating, and the house could use a lift. It’s the worst time to do it.
Nothing dries well in a closed house in winter, and a cushion left damp for two days develops a smell worse than the one you were removing. If you’re doing this between November and March, work smaller areas, use less liquid, and put a fan on it.
Vacuum first, spray second, and let the towel decide how much is too much.